Uploads by Parogen
This special page shows all uploaded files.
| Date | Name | Thumbnail | Size | Description | Versions |
|---|---|---|---|---|---|
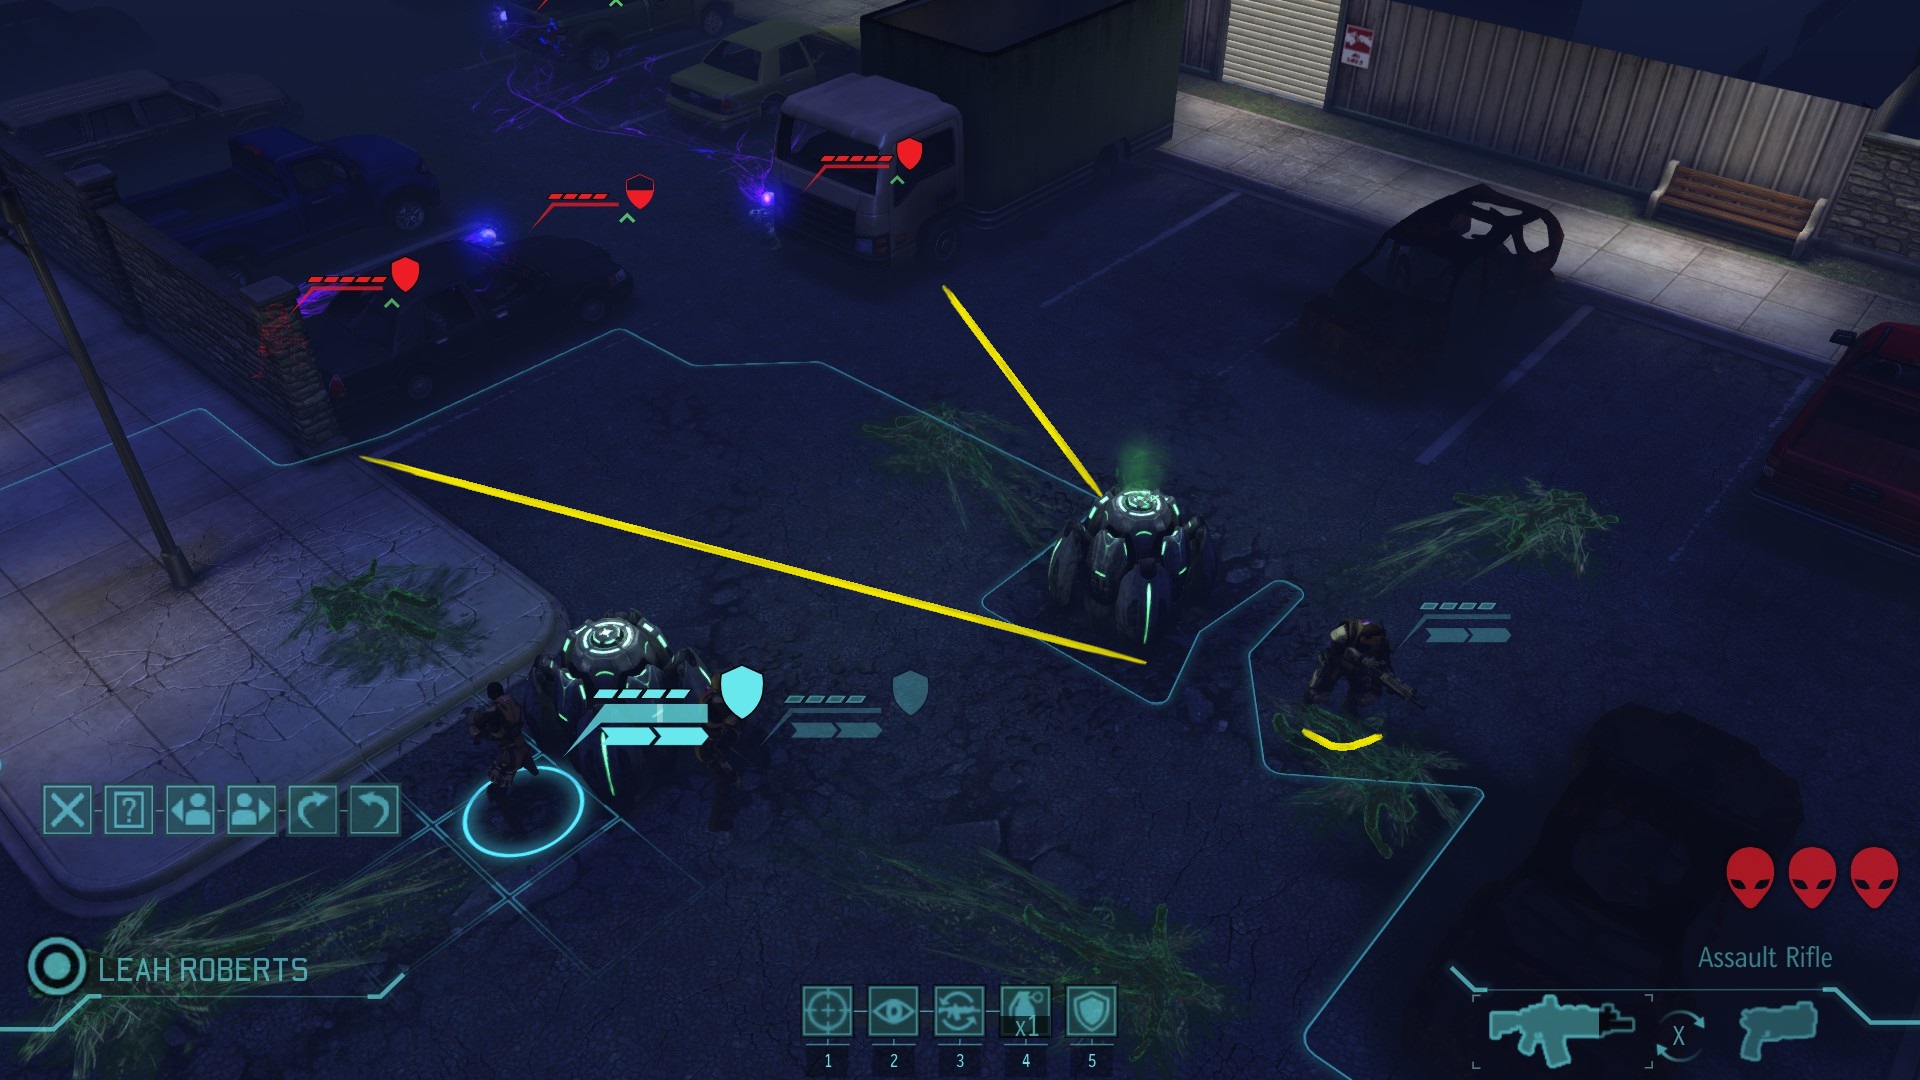
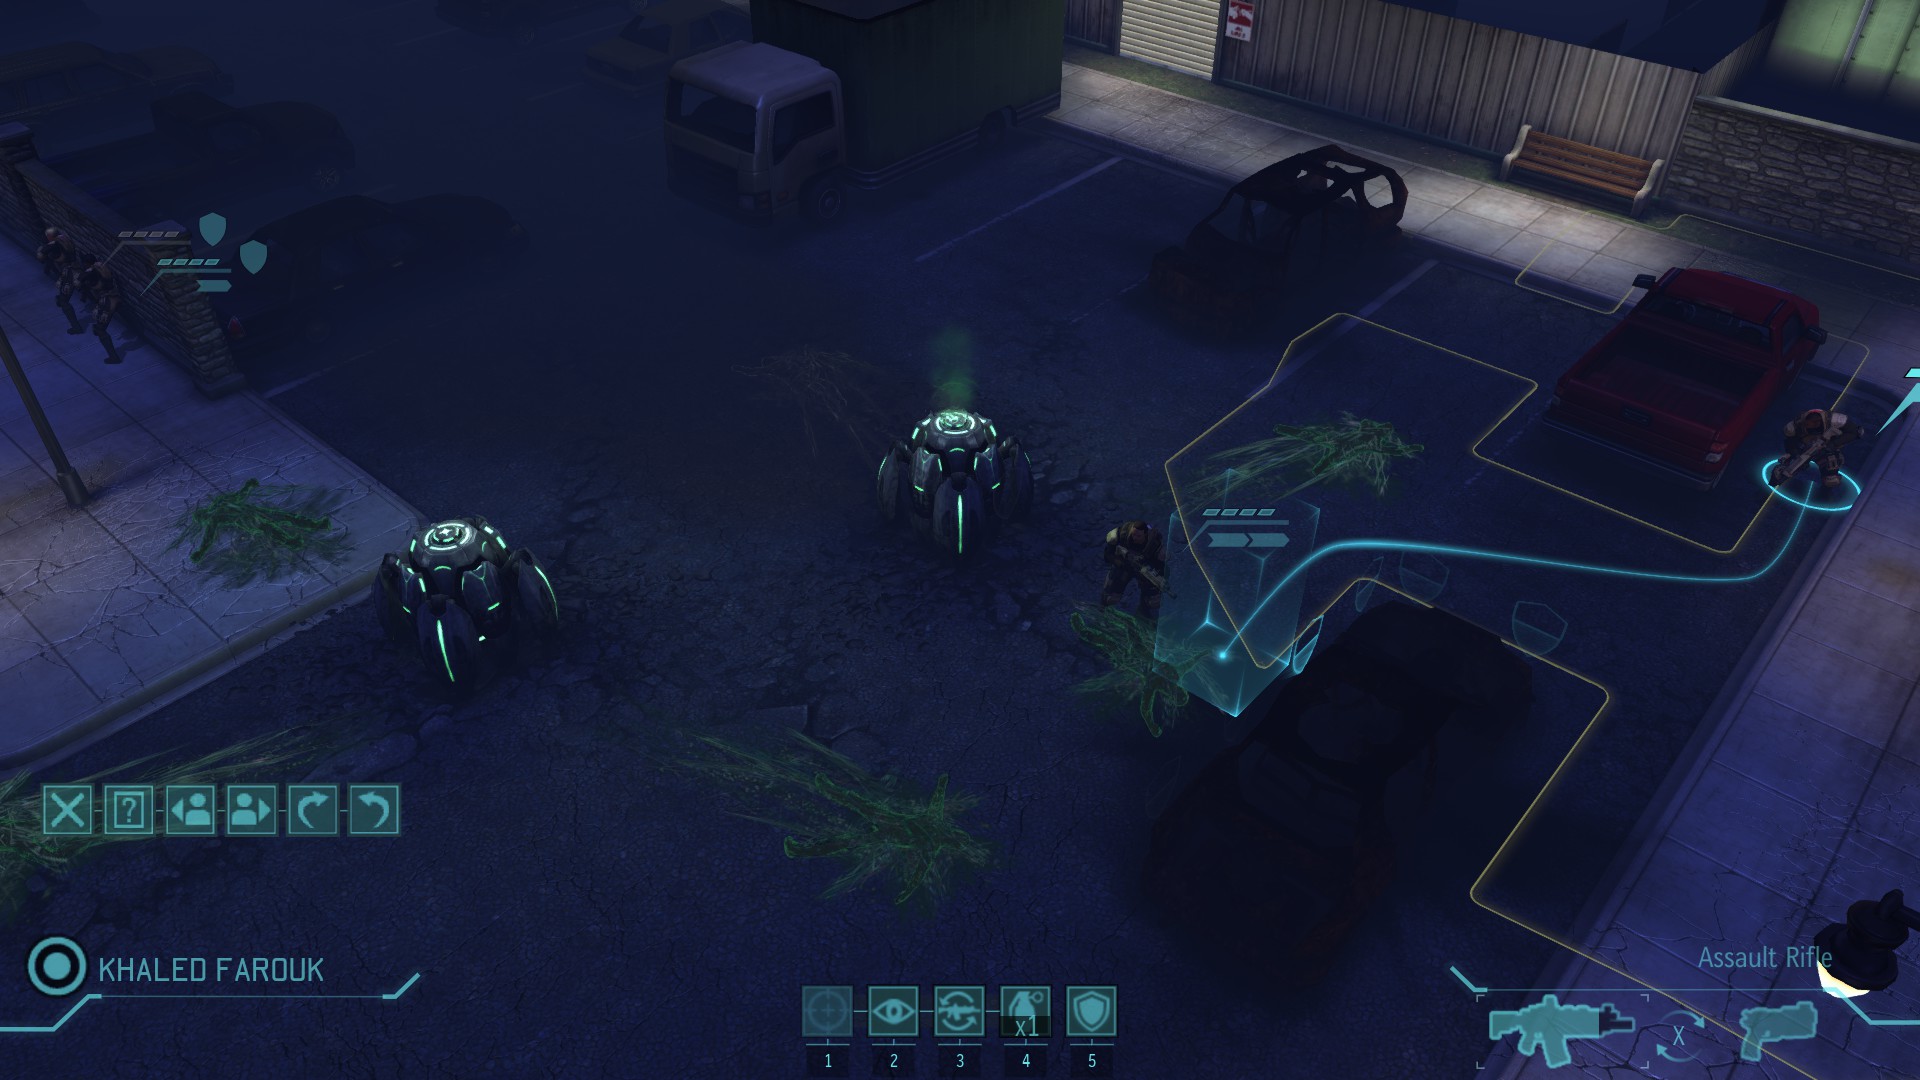
| 06:06, 4 May 2025 | Close order formation (EU2012).jpg (file) | .jpg) |
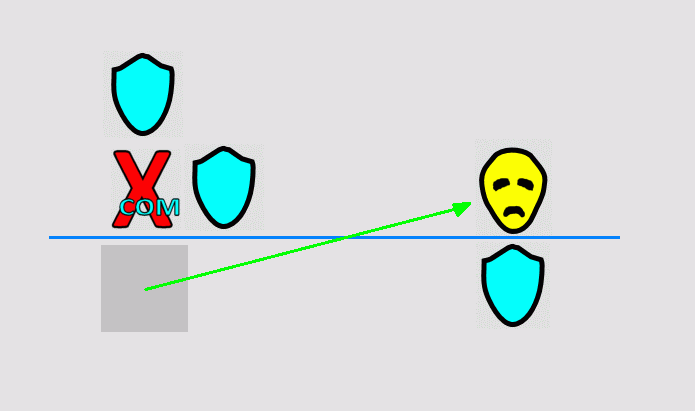
267 KB | Sound coming from the marked location. | 1 |
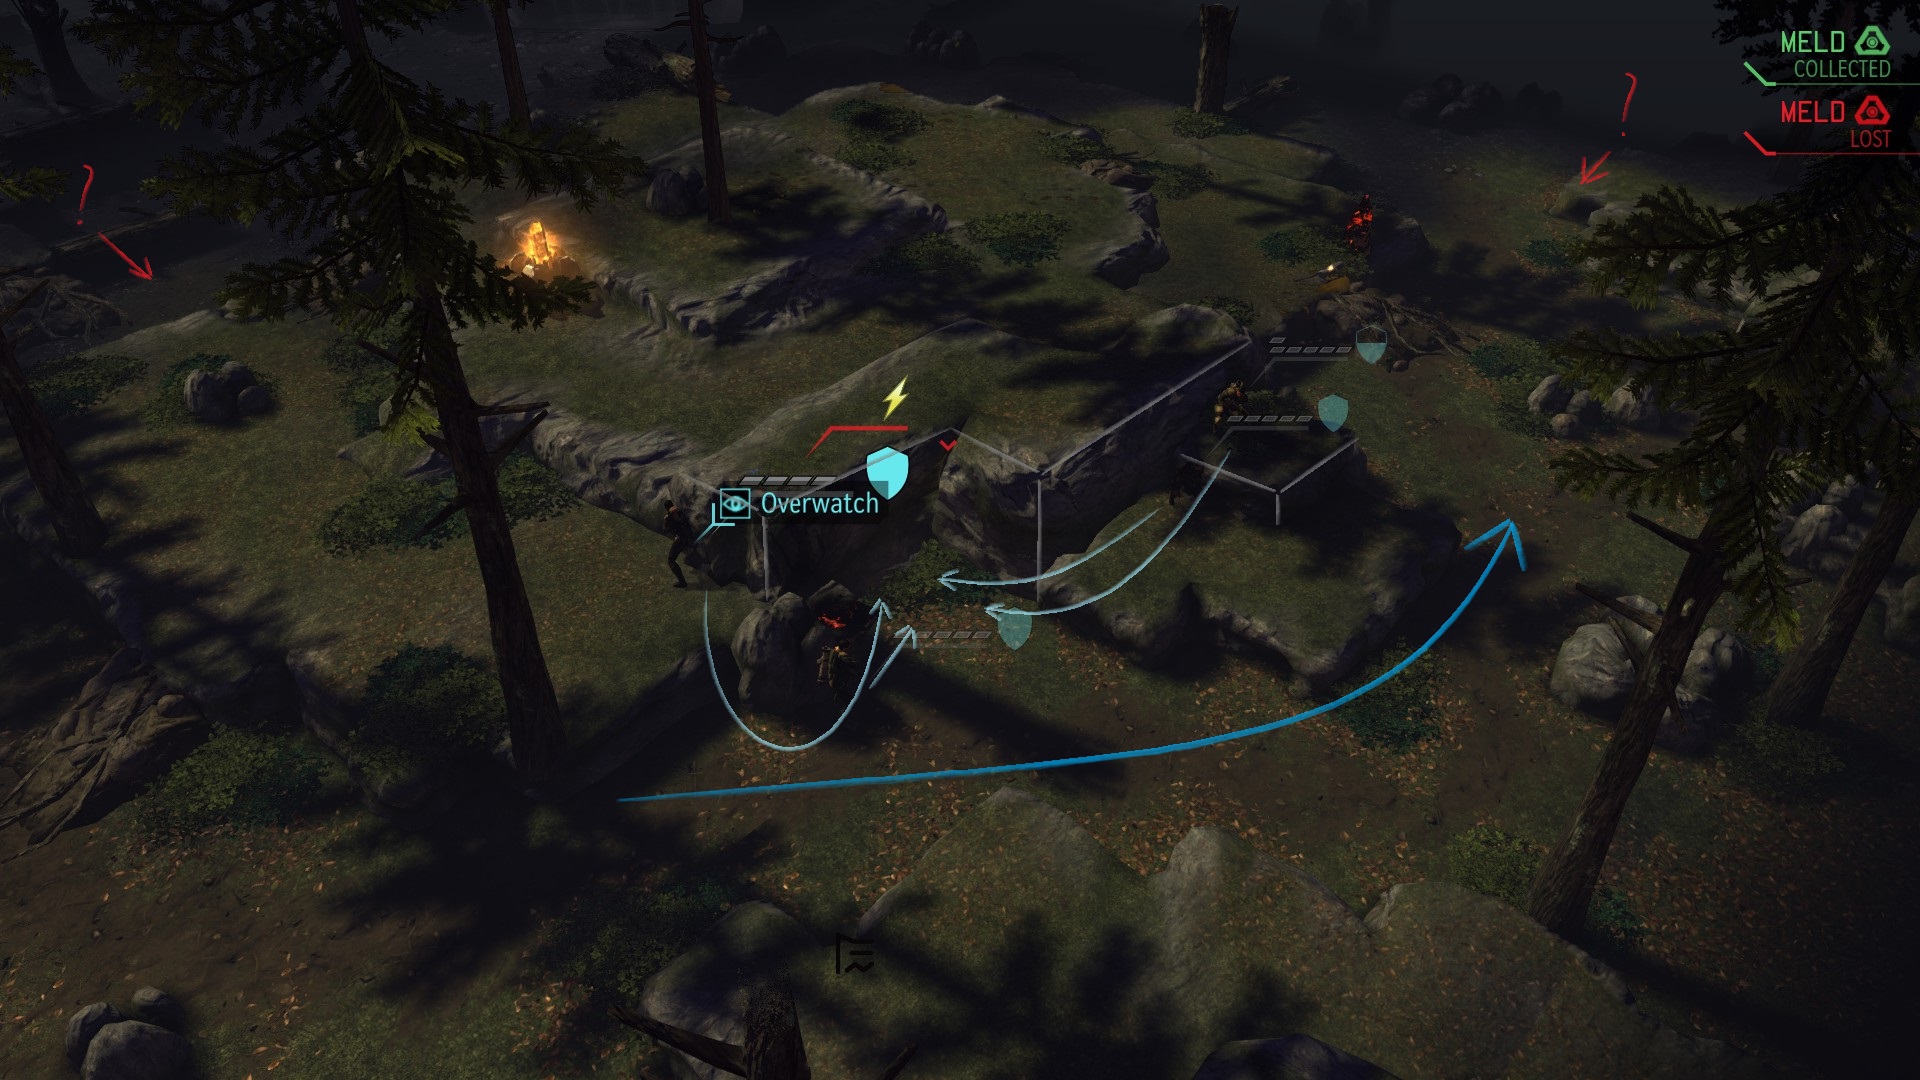
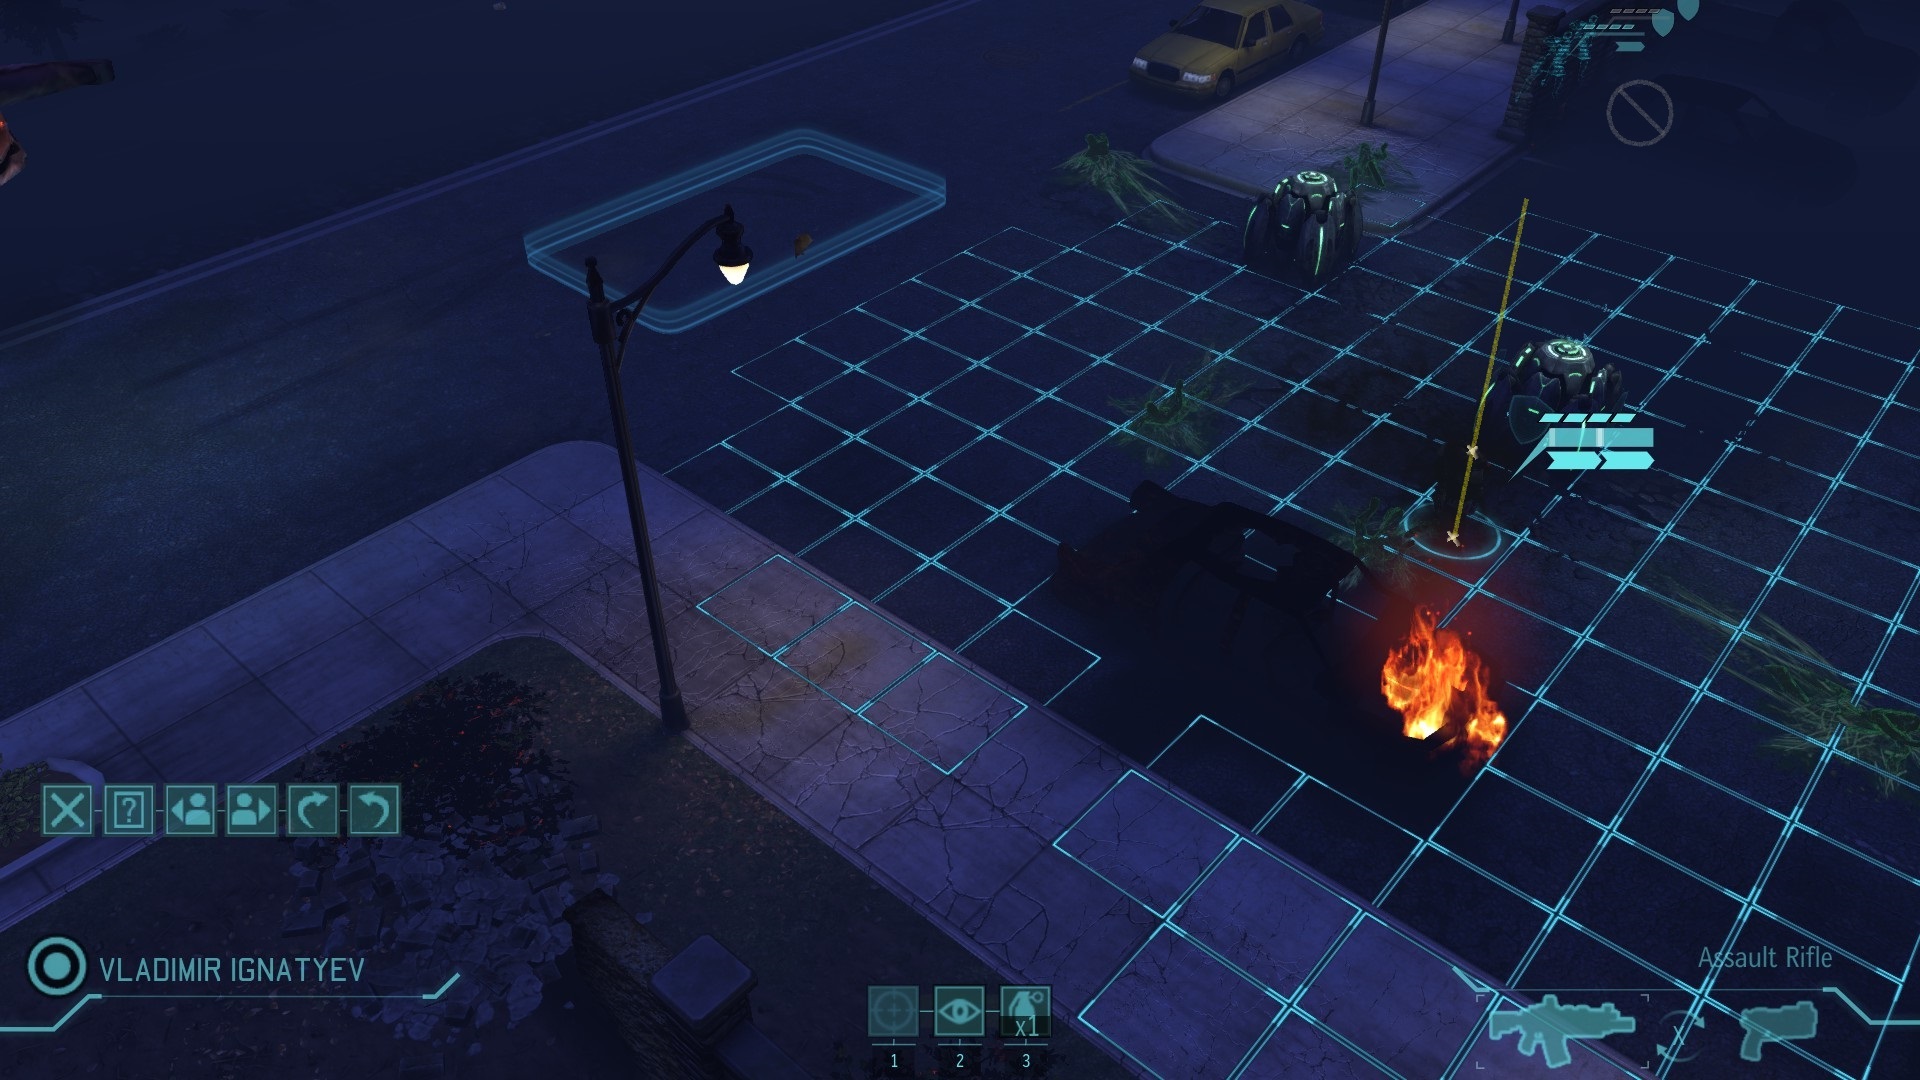
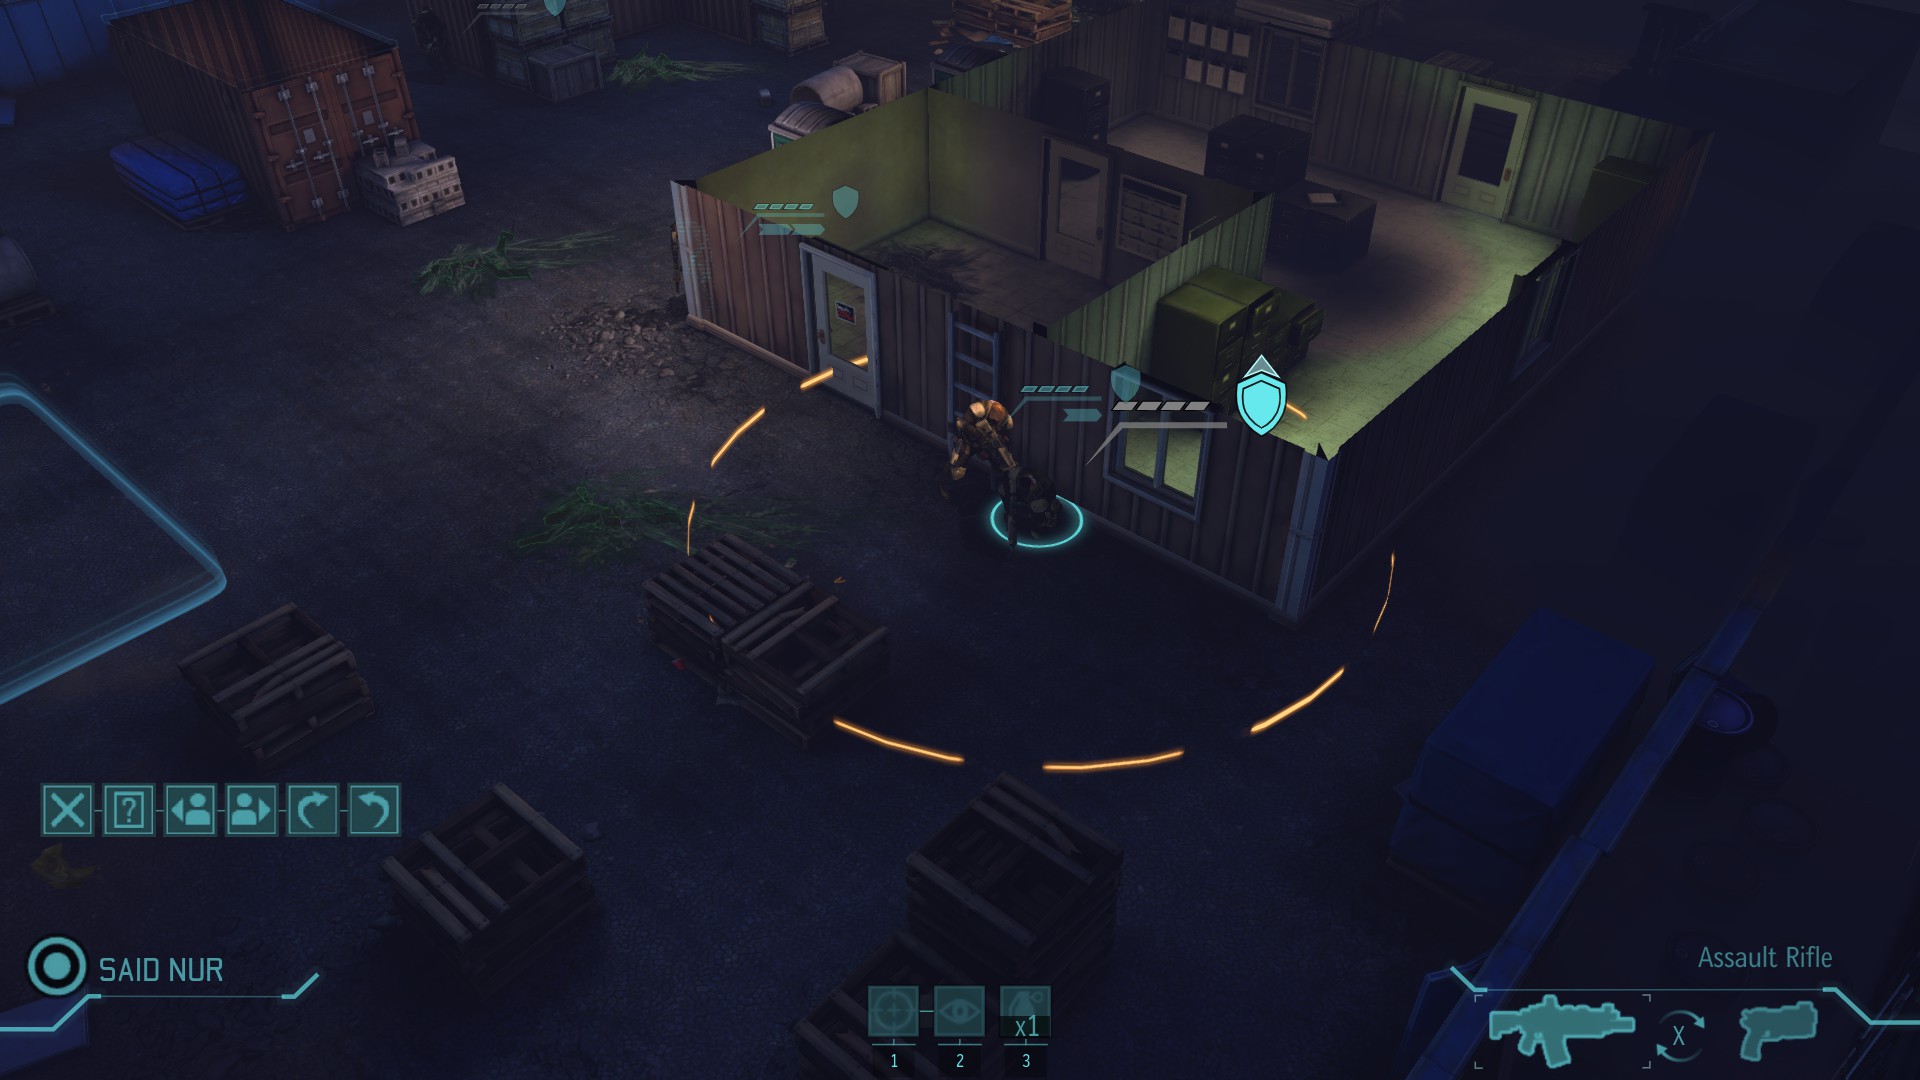
| 06:05, 4 May 2025 | Open order formation (EU2012).jpg (file) | .jpg) |
524 KB | By maintaining a wide vision area around the structure, the squad can utilize the enclave depending on which direction the enemy pod may be coming from as well as creating maximum distance from the structure. | 1 |
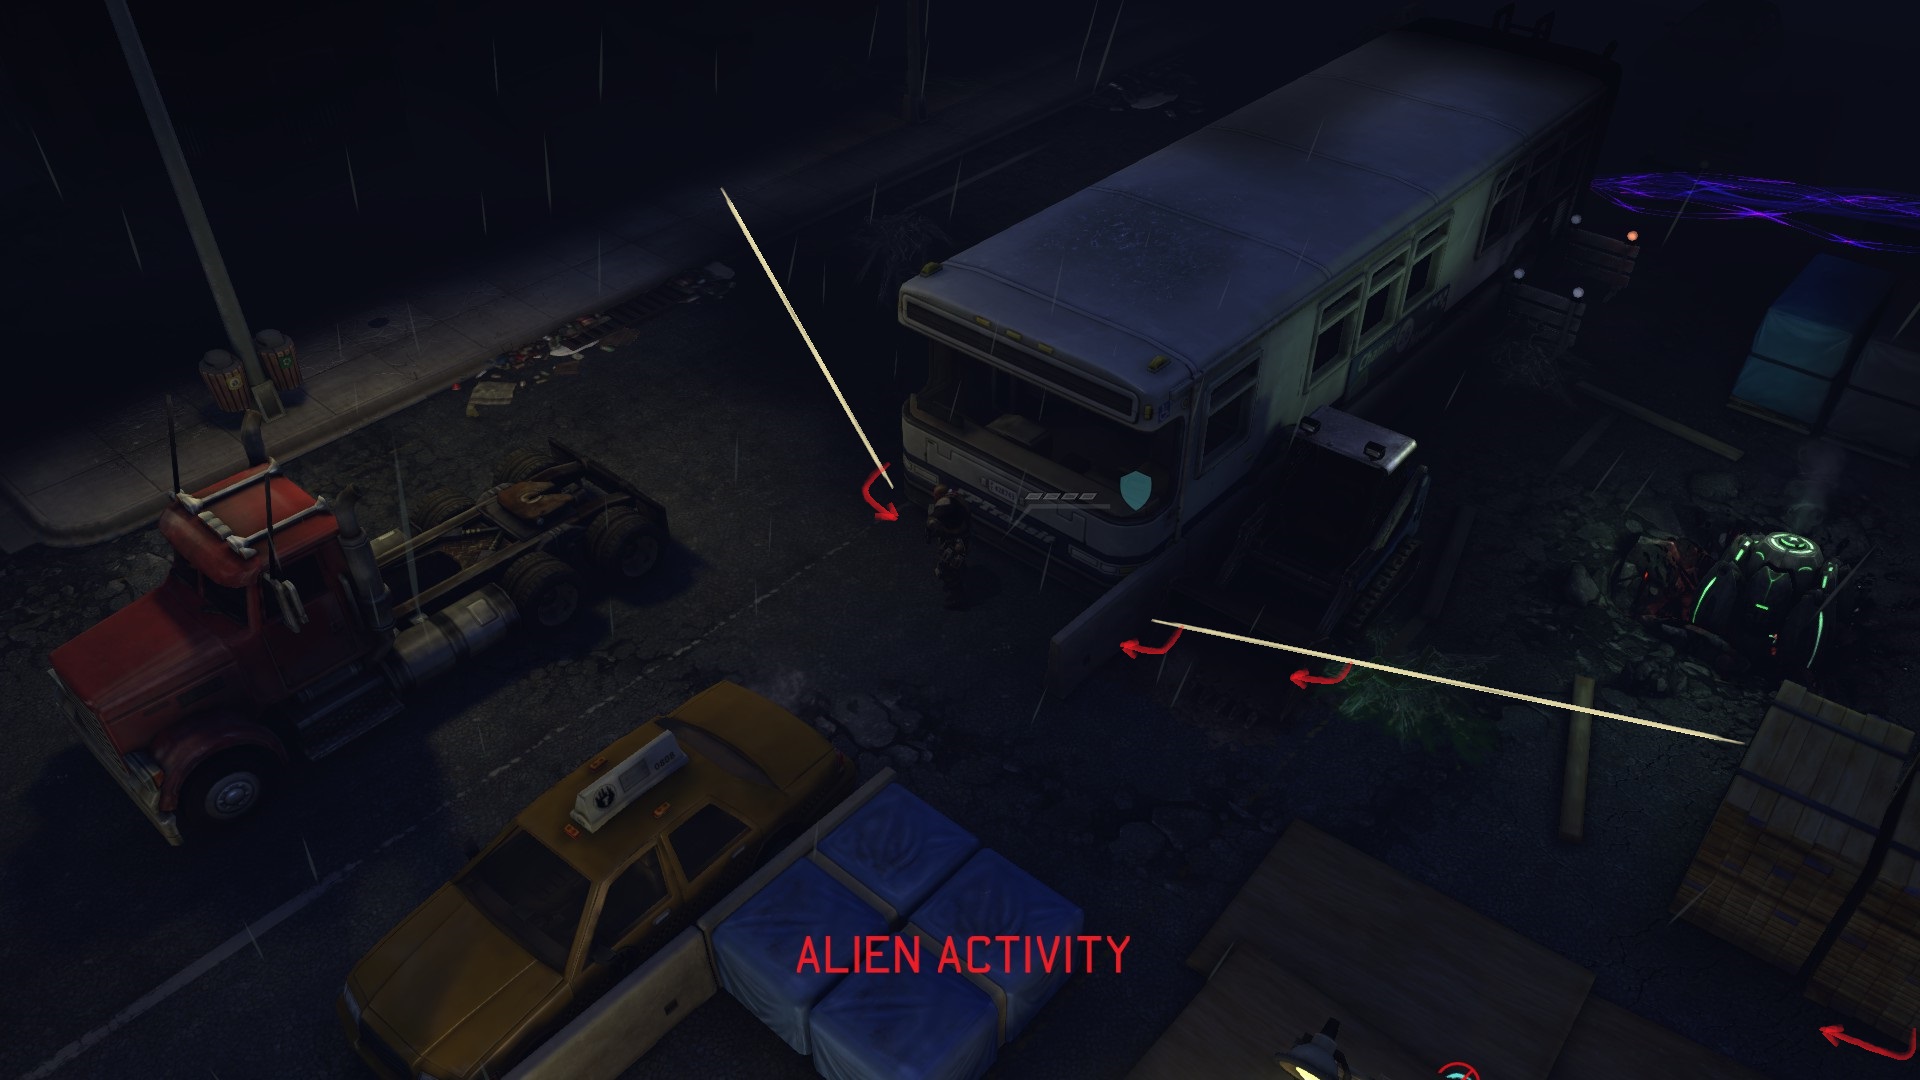
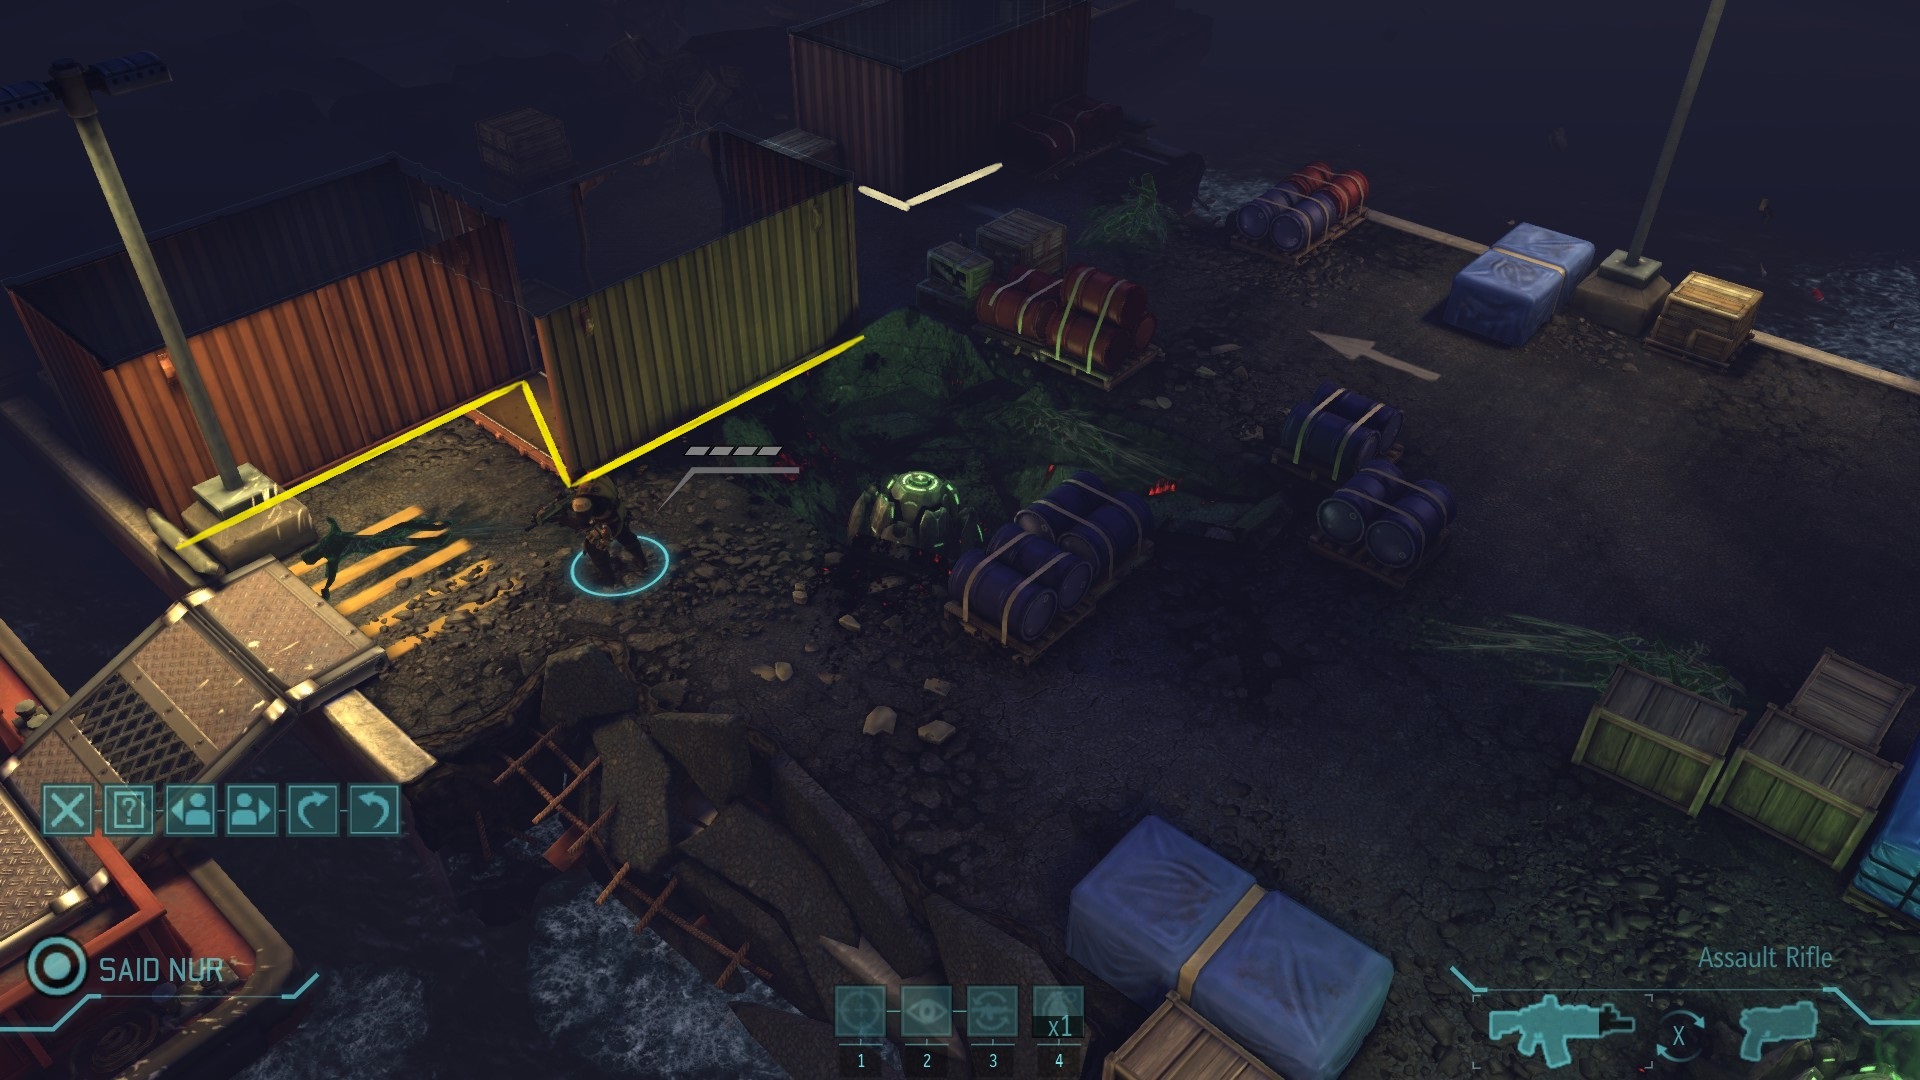
| 19:19, 3 May 2025 | Connected cover (EU2012).jpg (file) | .jpg) |
290 KB | This bus is actually not ideal but also showcases what to look out for. For any piece of connected cover, make sure all angles of advance can be defended against. In this map, the red truck can defend against the left flank but there is not a lot of cover to defend against the right if overwhelmed. | 2 |
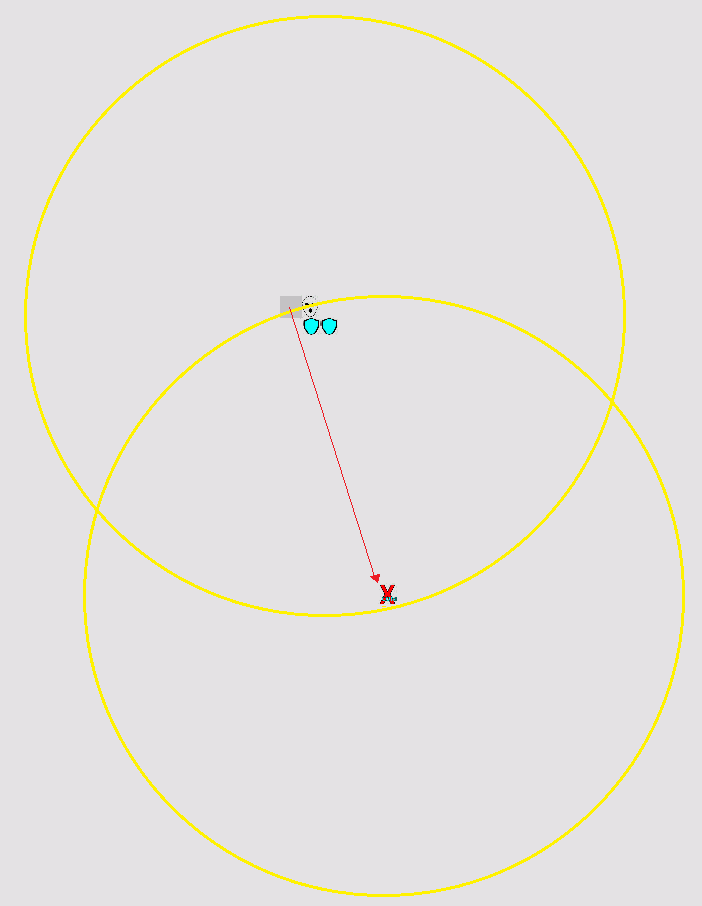
| 06:04, 29 April 2025 | Non visible attacker.png (file) |  |
13 KB | The center of the peeking tile is outside of the circle. | 1 |
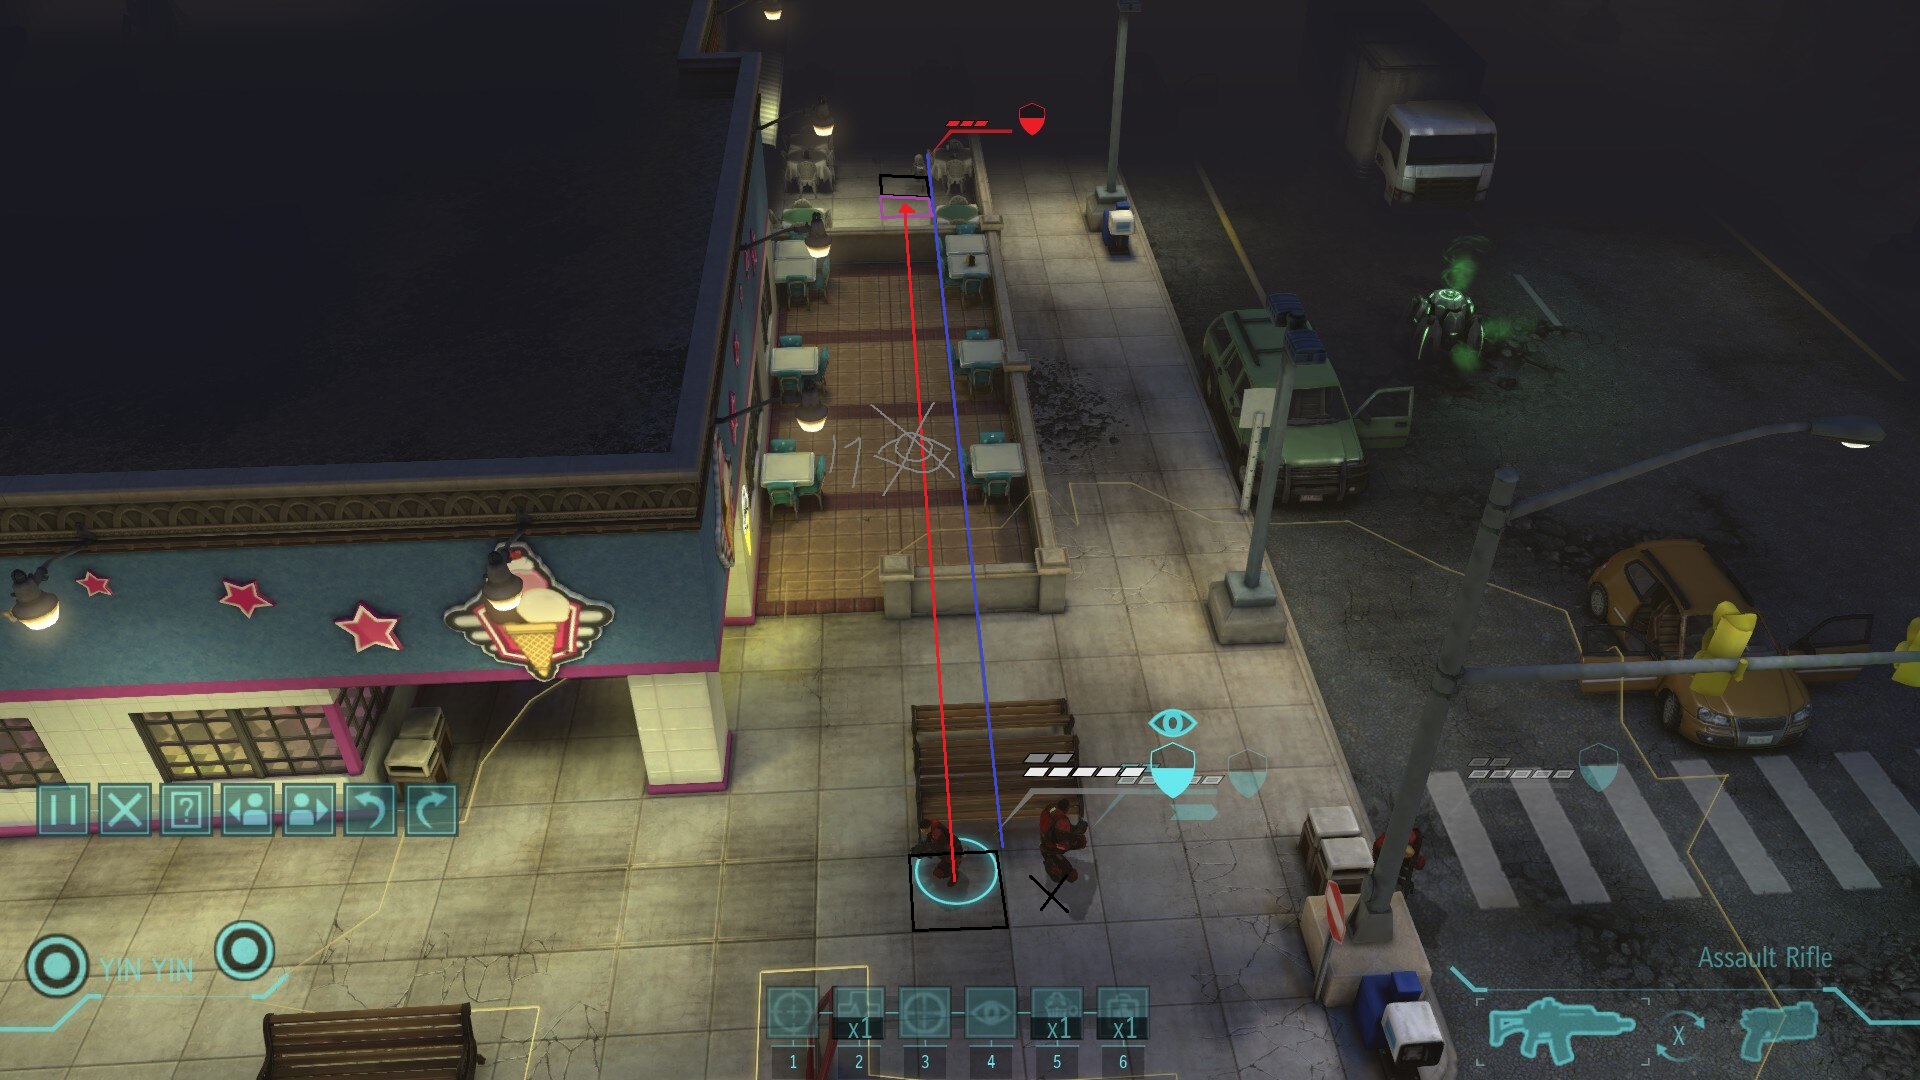
| 04:19, 29 April 2025 | Estimating camera 2.jpg (file) |  |
423 KB | 1 | |
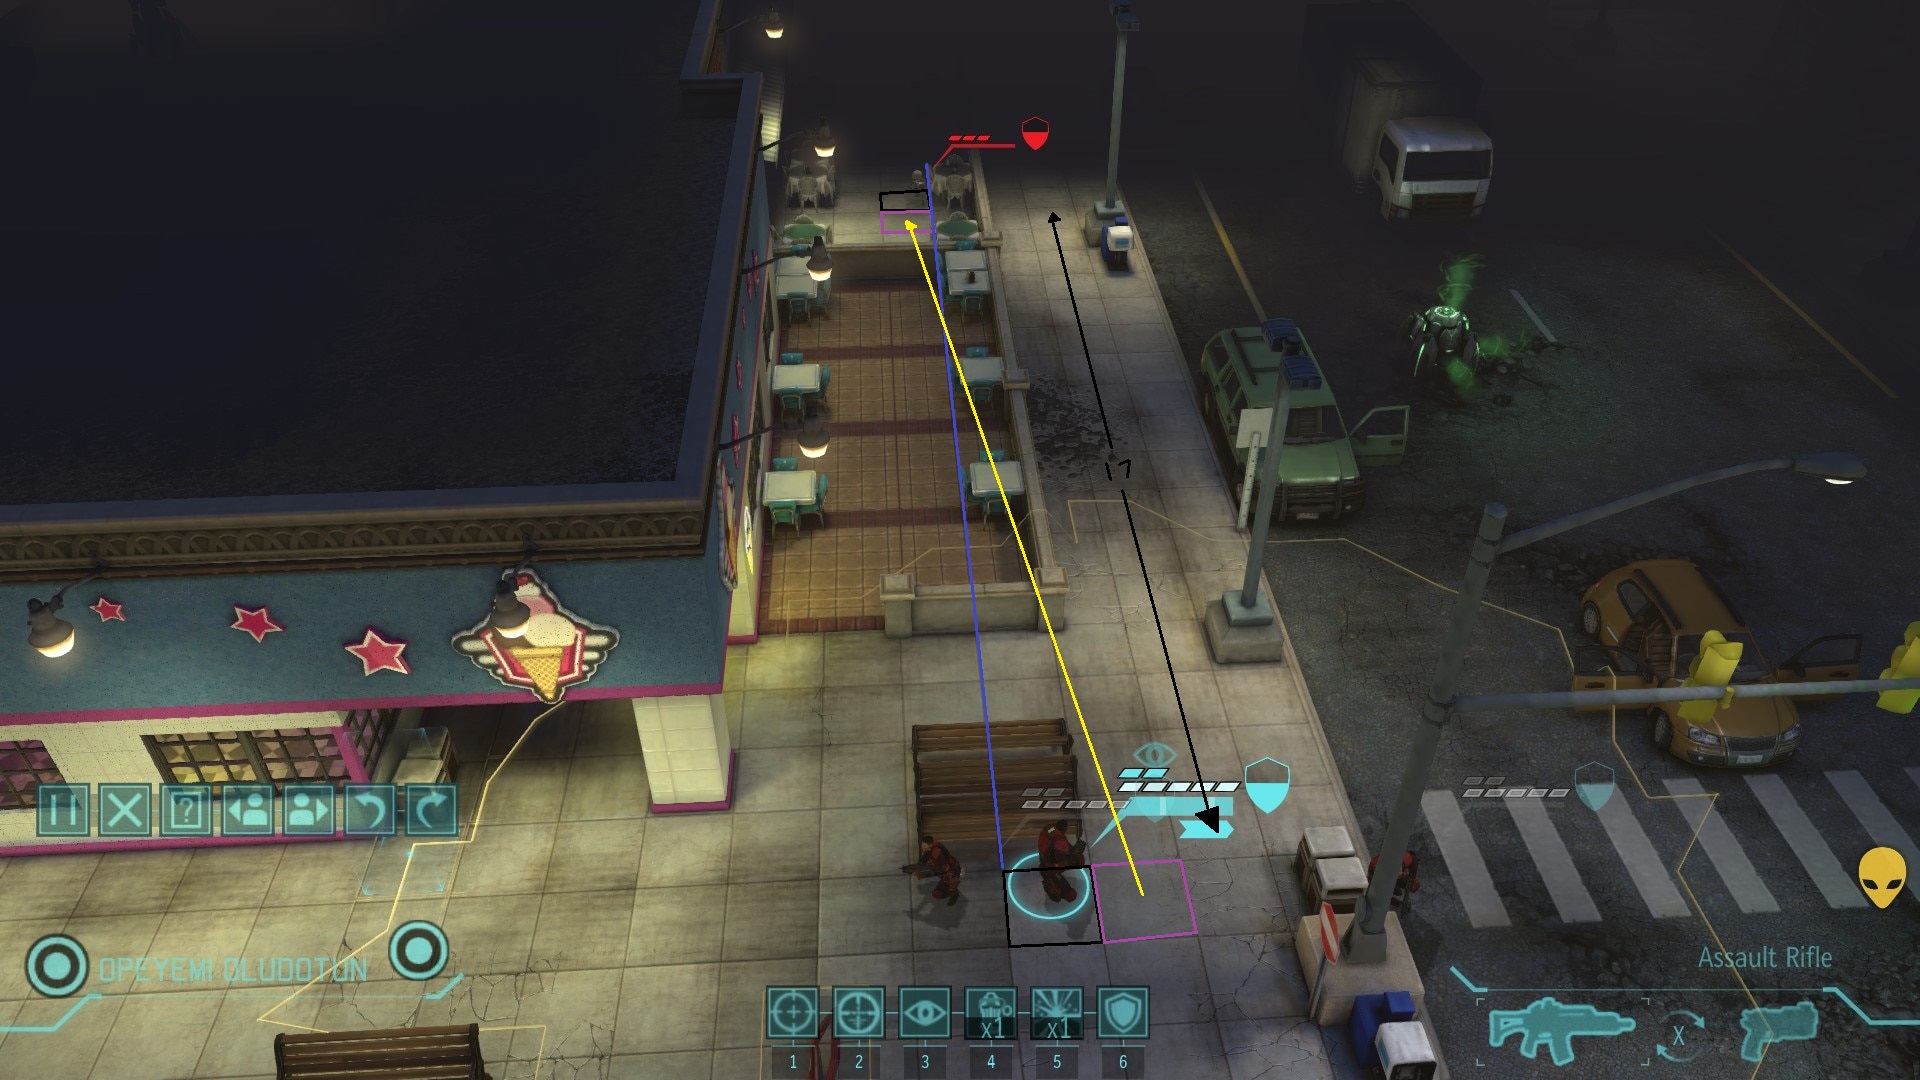
| 04:19, 29 April 2025 | Estimating camera 1.jpg (file) |  |
466 KB | 1 | |
| 01:08, 14 April 2025 | Loosely connected cover 2 (EU2012).jpg (file) | .jpg) |
336 KB | 1 | |
| 01:08, 14 April 2025 | Loosely connected cover 1 (EU2012).jpg (file) | .jpg) |
460 KB | 1 | |
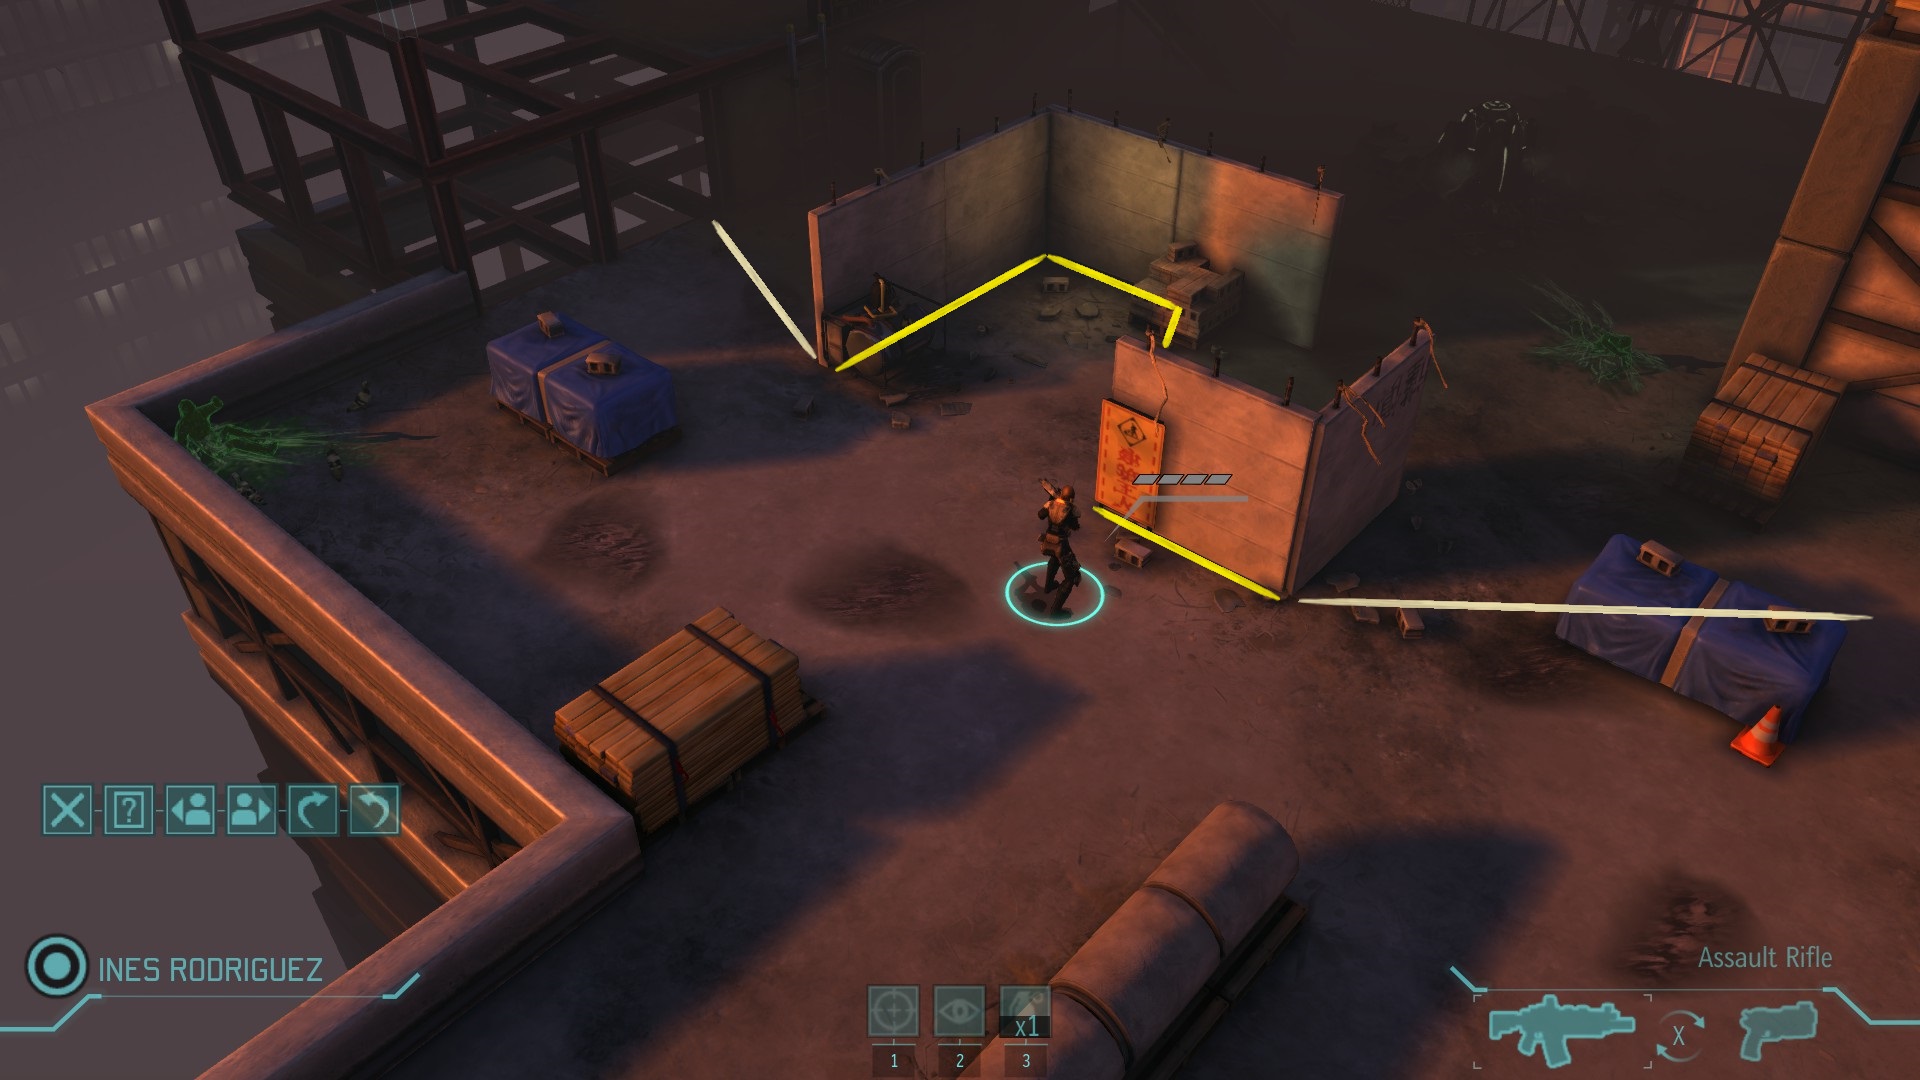
| 01:07, 14 April 2025 | Off cover 1 (EU2012).jpg (file) | .jpg) |
439 KB | 2 | |
| 00:47, 14 April 2025 | Hunker down (EU2012).jpg (file) | .jpg) |
245 KB | 1 | |
| 00:14, 14 April 2025 | Off cover 2 (EU2012).jpg (file) | .jpg) |
303 KB | Off cover with fog | 1 |
| 14:27, 10 April 2025 | Cover explanation left side.jpg (file) |  |
446 KB | 1 | |
| 14:26, 10 April 2025 | Cover explanation right side.jpg (file) |  |
426 KB | 1 | |
| 00:49, 10 April 2025 | Flanking exception.png (file) |  |
24 KB | Doesn't matter if it's high cover. It may even be probably that LoS of the peeking tile of the high cover is not required in this case (instead using the target tile). For some reason you, or the enemy, will gain LoS of the target even if there was a bit more high cover in between. | 2 |