TempleShip (EU2012): Difference between revisions
mNo edit summary |
m link update |
||
| (One intermediate revision by one other user not shown) | |||
| Line 1: | Line 1: | ||
{{Map Data Box (EU2012) | {{Map Data Box (EU2012) | ||
|missions=Storyline (Temple Ship Assault | |missions=[[Storyline Missions (EU2012)#Temple Ship Assault|Storyline]] | ||
|length=? tiles | |length=? tiles | ||
|width=? tiles | |width=? tiles | ||
| Line 9: | Line 9: | ||
'''Notes''' | '''Notes''' | ||
* See the [[ | * See the [[Storyline_Missions_(EU2012)#Temple_Ship_Assault|Storyline entry]] for a (spoiler heavy) room-by-room description. | ||
<br clear="all"> | |||
<gallery widths=200px heights=150px perrow=3> | <gallery widths=200px heights=150px perrow=3> | ||
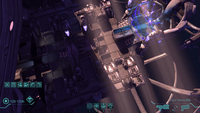
File:TempleShip.png|Mission screen | File:TempleShip.png|Mission screen | ||
Latest revision as of 12:47, 14 January 2014
| Missions | Storyline |
| Length | ? tiles |
| Width | ? tiles |
| Area | ? tiles |
Warning: this page contains major endgame spoilers!
Notes
- See the Storyline entry for a (spoiler heavy) room-by-room description.
-
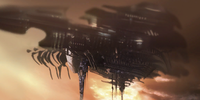 Mission screen
 -
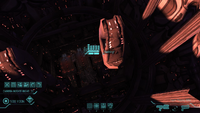 Starting area
 -
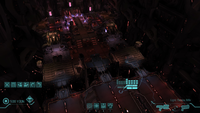 1st middle section
 -
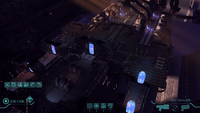 2nd middle section
 -
 Final chamber


